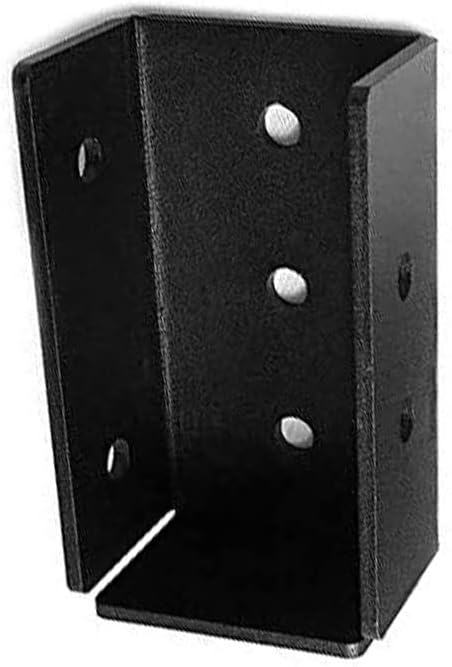
Framola Extra Strong British Made Timber Rafter U Shape Bracket - One Piece Solid Steel Indoor Outdoors Rafter Brackets - Durable and Rustproof - Black (4" x 2")
FREE Shipping
Framola Extra Strong British Made Timber Rafter U Shape Bracket - One Piece Solid Steel Indoor Outdoors Rafter Brackets - Durable and Rustproof - Black (4" x 2")
- Brand: Unbranded

Description
For homes, trusses must be lifted into place using a crane. For sheds, trusses are typically light enough to maneuver into place by hand, but you will likely need a couple of extra sets of hands to accomplish this task. As with rafter installation, use an 8d nail, making sure that about 2/3 of the nail length ends up in the wall plate. Make sure to toenail on both sides of the truss on each end. Use three nails for 2×4 chords, two on one side and one on the other, and four nails for 2×6 chords, two on each side. 2. Twist Strap The general rule of thumb for truss installation is that you’ll need to install one at least every 24”. With that in mind, determine the space from end to end and space your trusses evenly. After attaching your truss, make sure it is plumb before proceeding to the second one.
Introducing a NEW Aluminium Roof Trim - ideal for use on small flat roof extensions, garden rooms, office pods and sheds. A perfect high-quality, low-cost solution to the edging detail on your next small flat roof building project. Available as standard in three... read more What is the best canopy for a period property? Do not install the ridge board to rafter connectors on the ends of the ridge beam yet – you will do this at the end. Make a Ridge Beam Brace
There are many good options to consider when determining how to attach your roof to the walls of the structure you’re building. Toenailing is one of the more straightforward methods of attaching rafters or trusses to the top plate, while hurricane ties offer superior strength to ensure your roof stays where it belongs. Downwards 10° / 100° Downwards 15° / 105° Downwards 20° / 110° Downwards 25° / 115° Downwards 30° / 120° Downwards 35° / 125° Downwards 40° / 130° Downwards 45° / 135° Downwards When cutting the other end, be sure both cuts are parallel! If the length of the cut is 5’ 3 ½”, then you’ll be measuring only on one side from end to end. Using the miter saw, simply slide the wood through after you make your first cut. This ensures you keep the cuts parallel. Each side of the gusset will be 8” long, but only 8” tall. Layout your sheet of plywood on sawhorses. Facing the long side of your material, measure down from the top edge 8”. Then draw a line across the width of the plywood from that mark. Use a circular saw or jigsaw to make the cut. You can’t just use any size of wood you have sitting around for rafters – consult rafter span tables to see what size of wood you can use.
In a traditional hip roof, the king rafter would be the same length as the common rafters you are using. However, since sheds take on all shapes and sizes, you should not take this rule as set in stone. TimberLOK’s alternative to nails and plates is also usable for trusses. Installation is similar to rafters; only you’re driving the 6” screw through the underside of the top plate into the top and bottom chords of the truss instead of into the rafter. It’s essential to have a solid connection between a rafter and a top plate to ensure that your roof is stable. The gravitational forces on a roof cause the rafters to want to push outward. As such, it’s important to have rafters properly secured, so these forces don’t win out. The handiest tool in your toolbox for this job will be the speed square. You’ll notice that your speed square has regular measurements on one side and degrees on the other. You’ll also see that the end with degrees has a set of numbers, 1 – 24, just above it.
Framola Angled Rafter Brackets - For Downwards Slopes (90 Options Available)
Shed rafters come in many different designs, depending on the design of the shed and the shed roof. We’ll take a look at some of the most common shed rafter types and why you might or might not consider them in your next shed project. Common Rafters As the name implies, these ties are designed to keep your roof firmly in place in high winds or even an earthquake. Although you’ll pay a little more for these, it’s worth the convenience and added strength you get. While this article won’t go into great detail about all the factors that go into determining the upload rating of a roof, which includes everything from the span of your roof to the type of lumber you use, we will discuss which attachment methods are stronger than others.
- Fruugo ID: 258392218-563234582
- EAN: 764486781913
-
Sold by: Fruugo