About this deal
When using dark transfer paper, the image is placed face up on the shirt before transferring and as such, there is no need to reverse the image. Neglecting this stage will cause the images to appear the wrong way around. Reversing an image is a simple process that can be achieved directly from the printers’ own settings menu or using a simple image editing software. We have covered before a number of means to reverse the image using a number of tools. Now that your fabric is prepared, it’s time to print your design onto the iron on printer paper. Here’s how to do it:
While waiting for the iron to heat up, prepare the fabric where you will be applying the design. Make sure it is clean and free from any wrinkles or debris. You can also choose to pre-wash the fabric to remove any sizing or chemicals that may affect the adhesion. After the design has fully adhered, remove the iron and let the fabric cool down completely. This will allow the adhesive to set properly.
When it comes to applying and transferring your design using iron on printer paper, you have a couple of options: ironing instructions or heat press instructions. Each method has its own advantages and considerations, so let’s dive into the details. Design peeling off after washing: If the design starts to peel off after washing, it could be due to improper application or washing with harsh detergents. Make sure to follow the recommended washing and drying guidelines provided by the manufacturer. Avoid using bleach or strong detergents that may damage the design. Apply firm and even pressure with the iron on top of the design. Move the iron in a slow circular motion, making sure to cover the entire design area. Be careful not to slide or move the iron across the fabric, as this may cause the design to shift or distort. One of the best things about printable vinyl is that the sky is the limit when you’re deciding on a design, since you are limited to the colors of iron on vinyl you have on hand. You can make projects with beautiful, multi-colored images, like this: In this case, I ended up making my image 9.25″ tall, the maximum size for print then cut, but obviously, you’ll need to resize to fit your blank.
Print the transfer. Before you print your transfer image onto the transfer paper, do a test run by printing your image on a regular piece of paper. This test run helps to make sure that the colors of the image are how you want them to look, see if your printer will print the entire image rather than cutting a section out, and to see the size of your image. Sometimes how your image looks on the computer screen is different than how it looks once it is printed. [9] X Research source Preheat your iron to the recommended temperature and prepare the fabric by washing and drying it. Position the vinyl design face-down on the fabric, ensuring it is centered and aligned correctly. Apply firm pressure with the iron, moving it in a circular motion to ensure the design adheres evenly. Make sure your transfer paper doesn’t have a right and wrong side. One side may have a logo or be a slightly different color or opacity than the other. This may mean you can print on a wrong side. Read the directions before proceeding to print your own t shirt. (5) Cut out the image
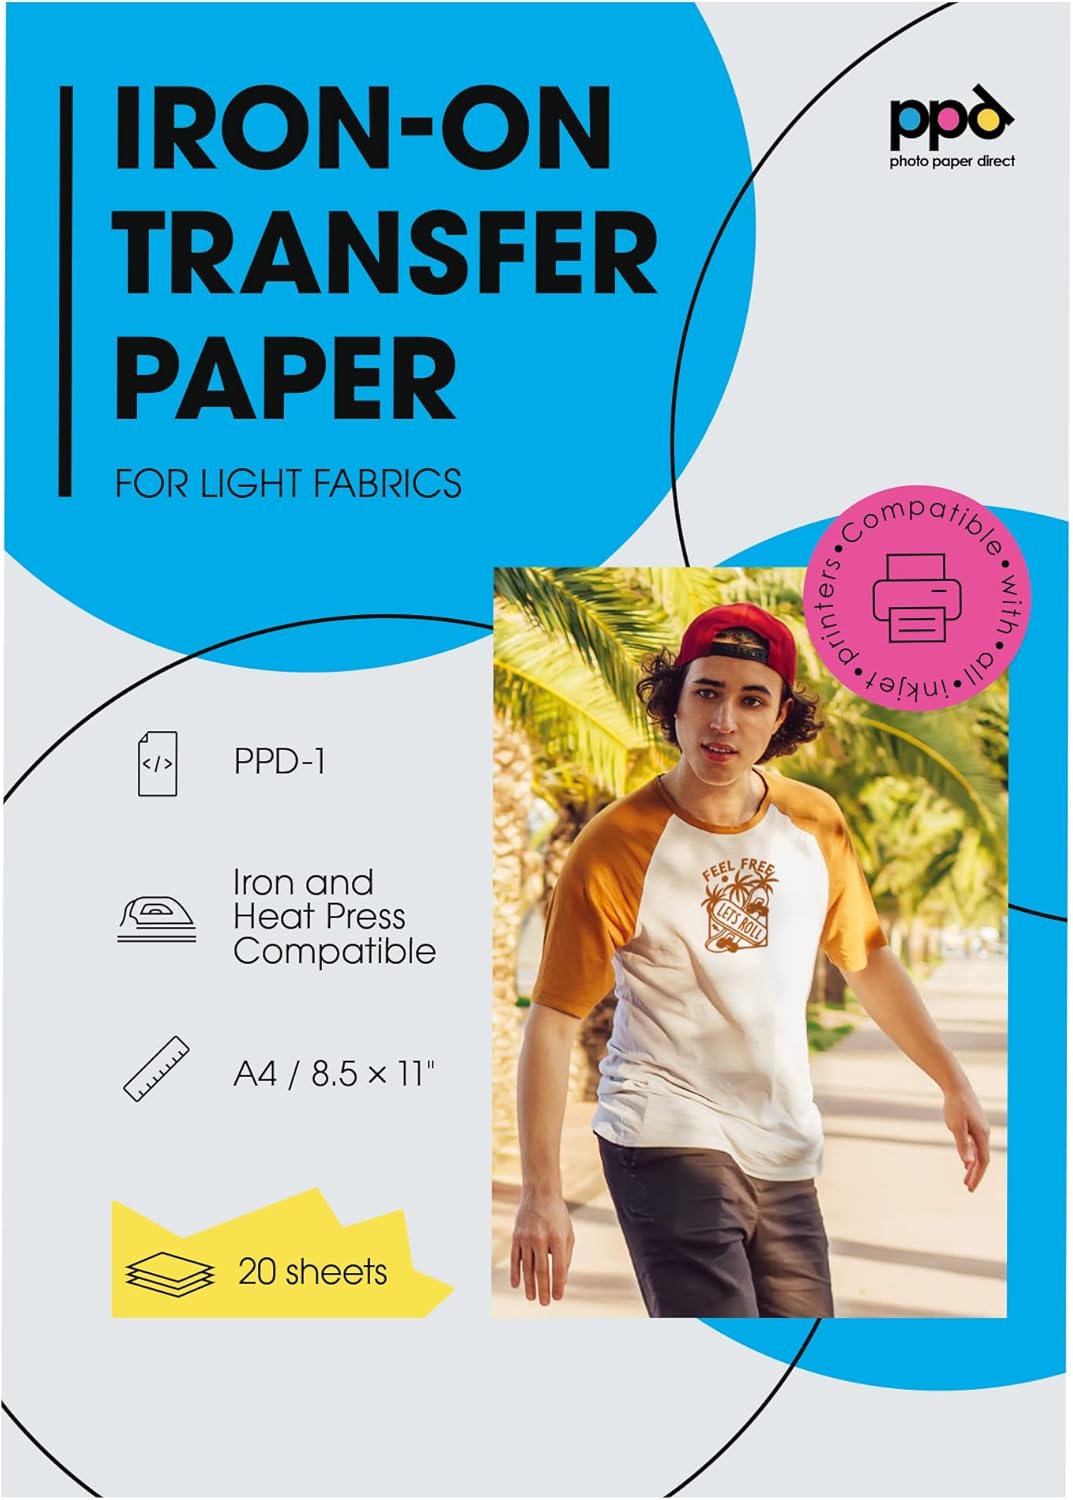
The iron on transfer printing method is a simple, no-fuss and no mess way to apply a design or complex image to a t shirt or other fabric. To print your own t shirt only requires a design, a home or office printer, an iron, and something to print. Step by Step Guide (1) Choose the design A common mistake (and an expensive one due to the cost of the paper) is not reversing the image prior to the transfer process where necessary. When using light transfer paper you must reverse the image and print it in mirror mode. The image is placed face down on the garment and when the transfer process is complete, it will appear the right way round.
Choose a table, countertop, or ironing board that is both smooth and able to withstand heat. You don’t want to damage the surface or interfere with the print.After printing, you need to prepare the fabric by washing and drying it to remove any dirt or debris. It is recommended to avoid using fabric softeners or dryer sheets as they can interfere with the transfer process. Follow washing guidelines: As mentioned earlier, following the recommended washing and drying guidelines will help maintain the vibrancy and integrity of your iron on prints. Consider trimming close to the edges of your design, because the transparent areas of the paper surrounding the design can still be seen on the fabric. Use gentle cycle and cold water: When washing your garments with iron on prints, opt for a gentle cycle and cold water setting. This will prevent any damage to the design caused by harsh agitation or hot water. While applying and transferring designs using iron on printer paper is generally a straightforward process, there can be some common issues that may arise. Here are a few tips to help you overcome them:
Related:
 Great Deal