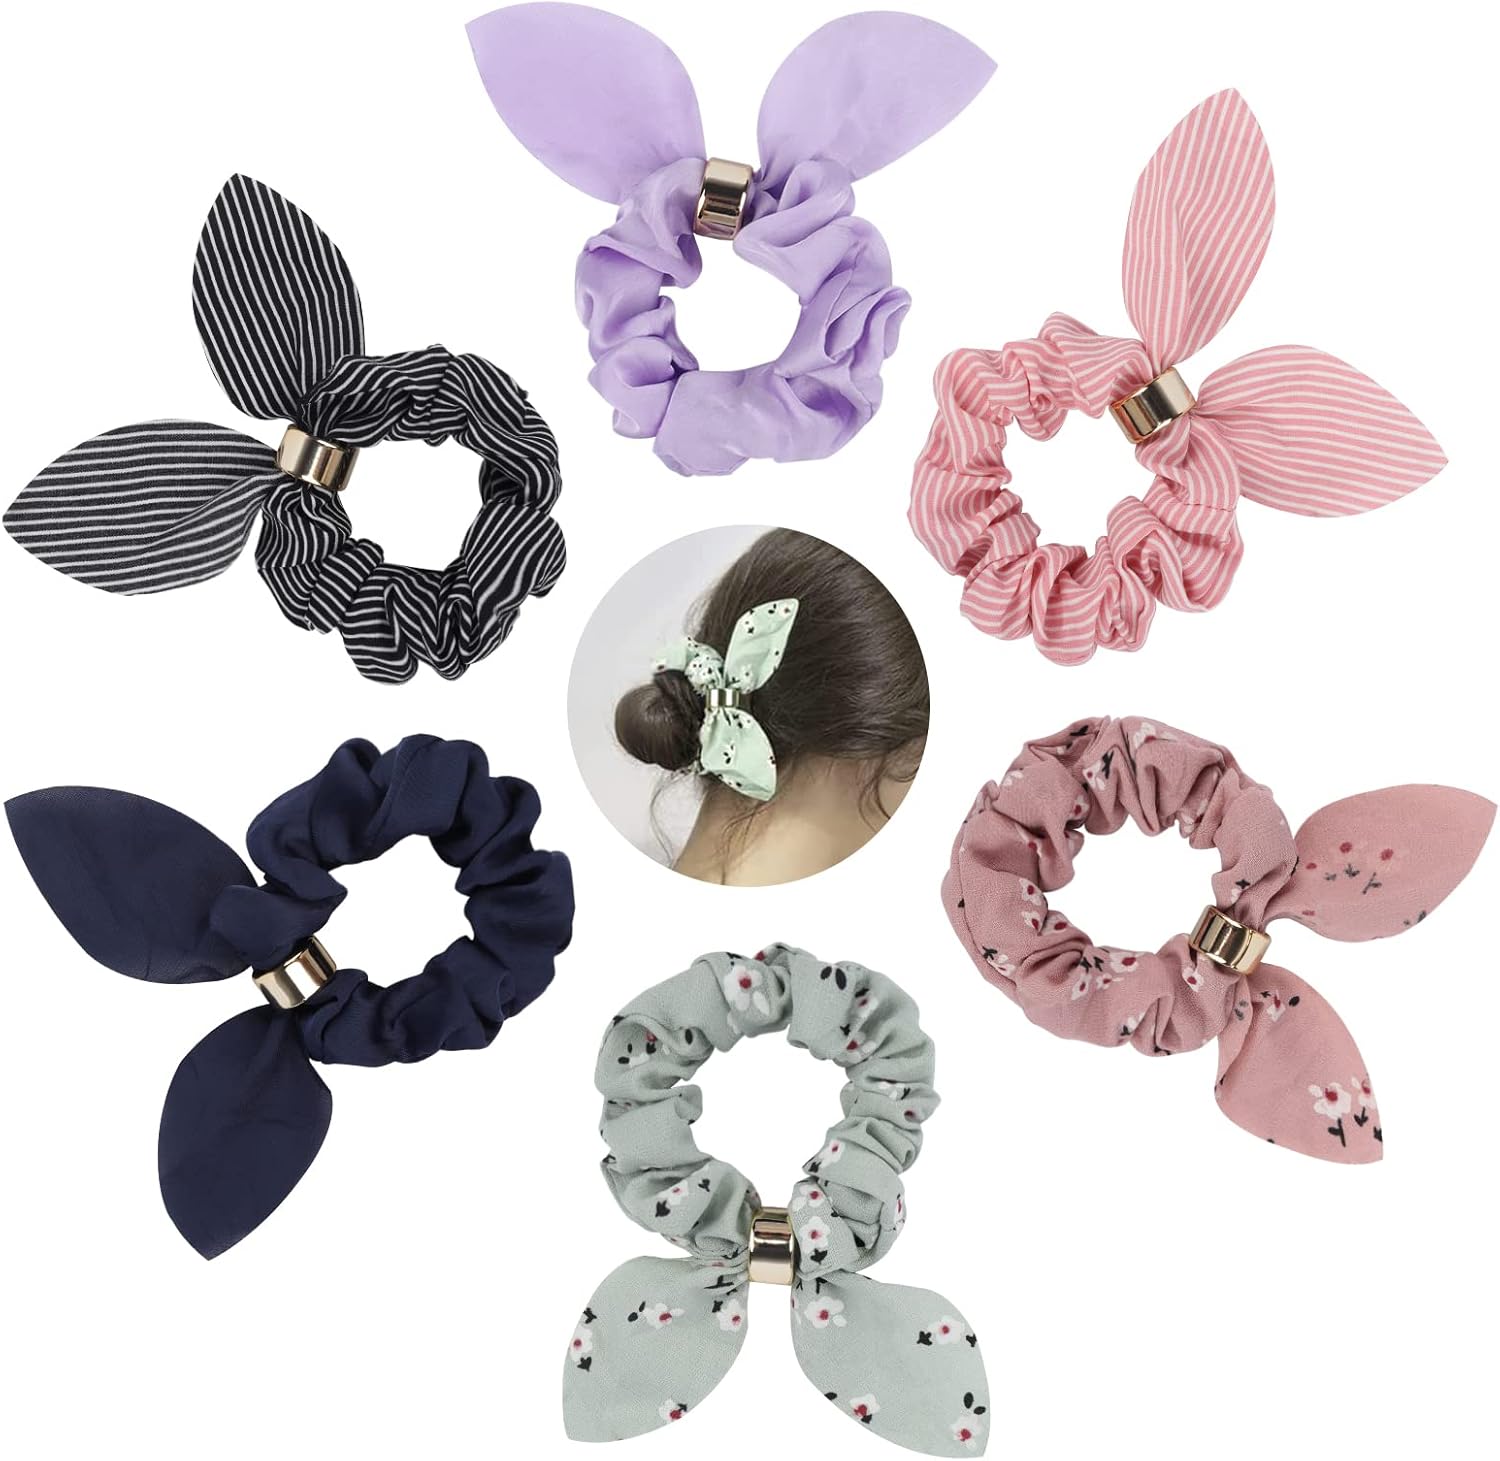
About this deal
Wow! You are finished learning how to make a scrunchie! Wasn't that easy? Now you can DIY scrunchie in every color of the rainbow. More Hair Accessory Tutorials
Almost all steps can be completed with a sewing machine — there is only the tiniest bit of hand sewing required. That said, if you don’t have a sewing machine, you can easily hand-sew all of the steps. (I’ll show you how to modify this pattern into a no-sew project, too.) Scrunchies with Knots, Bows, or Tails Learn how to make your very own DIY hair scrunchie with this easy step-by-step tutorial. I’ll show you how to sew a seamless, professional-looking scrunchie with a sewing machine or by hand. Plus, I’ll give you three easy options to add bows or tails to your custom scrunchies. DIY Hair ScrunchiesYou will start your seam from 1 1/2 inches down from the top edge and end your seam 1 1/2 inches up from the bottom edge. I like to use pins as a visual reminder of where to start and stop my seam. This pattern doesn’t take shortcuts – so I can’t promise that it’s the fastest one out there on the internet. But I can promise it will give you a scrunchie with a professional-level finish and no visible seams!
This method will also work with elastic bands (although I recommend hair ties because they’re less likely to snap). If you don’t have a sewing machine, you can use hand sewing or a hot glue gun for a no-sew method. The steps are still the same. If you are using a cotton fabric then give it a good press. For Lycra fabrics, just try and flatten it out a little with your fingers. The seam should be on one side of the tube so it is not easily visible. Step 4: Press the DIY Scrunchie Step 5 - Thread the Elastic So what materials do you need to make a scrunchie the easy way? Here are all the supplies you need to make a scrunchie - I like to use a safety pin to pin one end elastic to the outside of the tube. This helps me not lose the elastic inside the tube while I work. If you want an invisible finish for your scrunchie then use a ladder stitch in the final step instead of your sewing machine. At this point, the raw edge will be inserted into the tube and the seam can be hand-stitched around the outside in a circle. How Long Does it Take to Sew a Scrunchie?Step 1: Cut a rectangle of fabric that measures 22″ long by 3″ wide. Fold the fabric piece in half lengthwise with the right sides together. Pin in place. After you’ve made a couple of scrunchies, you might want to adjust the length of the elastic longer or shorter to get a better fit.
Choose an all-purpose sewing thread in a color that matches your fabric. Use a hand-sewing needle to sew along the seams with a small running stitch. How to Make a No-Sew Scrunchie If you’re up for a little sewing project, it’s easy to make your very own custom scrunchies at home! Custom hair scrunchies are a great handmade gift idea for friends and family. You can use almost any type of fabric you like, from quilting cotton to crushed velvet. Here are some things to consider: Cut the fabric into a 3.5″ by 22″ rectangle. Cut an 8″ length of elastic. Step 2. Fold and sew the long edges.Otherwise, the scrunchie measurement is 21 1/2″ (width) x 3″ (height) (54.5cm x 7.5cm). I also experimented with 4″– 5″ height (10cm – 13cm) for a really big scrunchie.
 Great Deal